The Premium Editor offers advanced tools for creating professional-quality karaoke and lyric videos with precise timing control and customization options.
Do you feel like a video is easier to follow? Click here to watch our Premium Editor video tutorial
Premium Editor: Video Tutorial
Learn how to use your Premium Editor in the following video tutorial.
This guide provides step-by-step instructions for using the Premium Editor features available in your current project. The Premium Editor offers advanced tools for creating professional-quality karaoke and lyric videos with precise timing control and customization options.
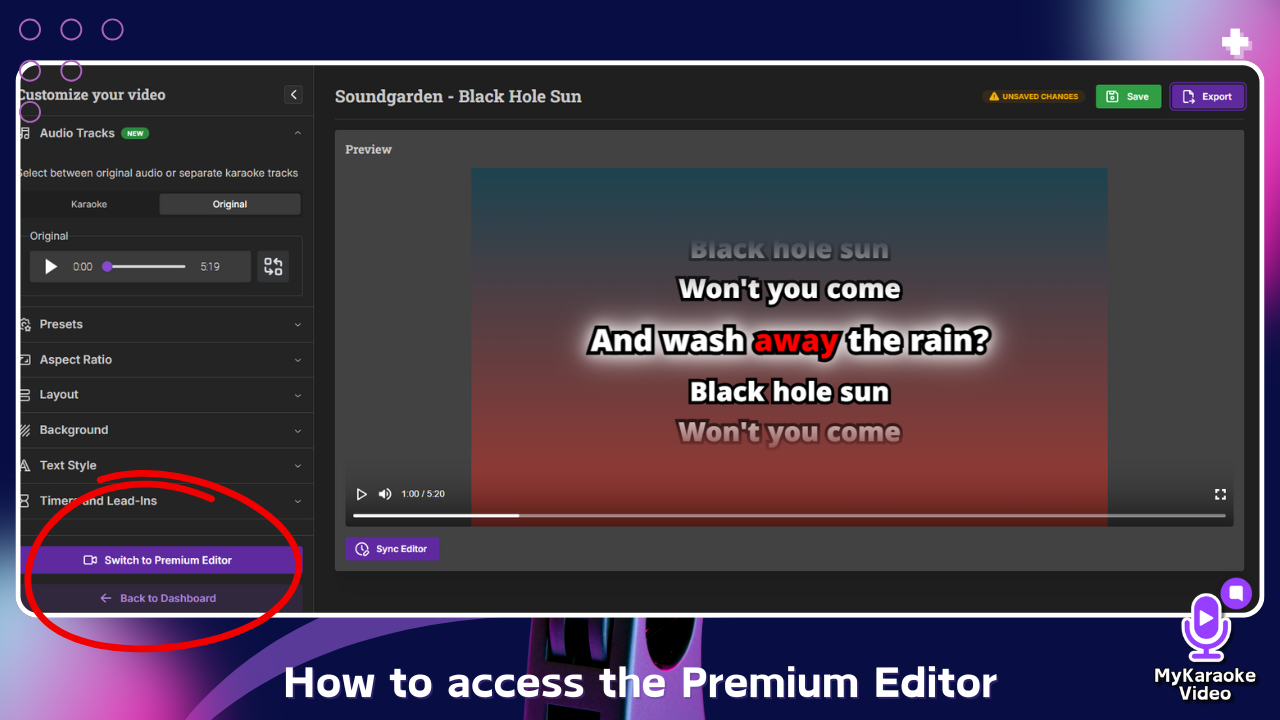
Once your initial video project has been processed in the standard editor (the "Customize your video" screen), you can elevate your editing capabilities by switching to the Premium Editor.
In the standard editor's left-hand menu, scroll down to the bottom.
Click the purple Switch to Premium Editor button.
This will transition you to the advanced Premium Editor interface, loading your existing project elements for more detailed control.
The Premium Editor interface is organized into four main sections. Understanding these areas will help you navigate and utilize the editor effectively.
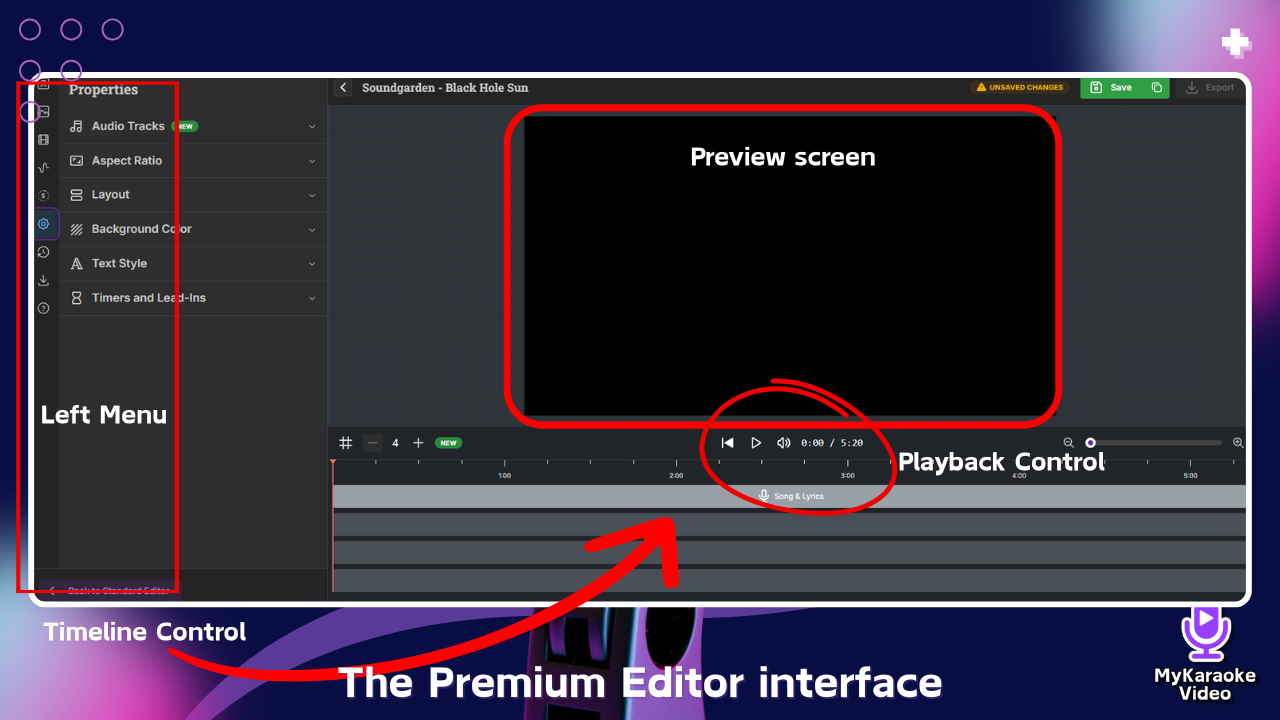
The Premium Editor interface is organized into four main sections:
Left Menu (Properties Panel)
Contains all the customization properties for your project
Click any category to expand its options
Preview Screen (Center section of the interface)
The large central area displays how your video will look
Shows lyrics, backgrounds, and effects in real-time
What you see here is exactly what viewers will see in the final video
Playback Control
Located directly below the preview screen
Includes buttons for:
Previous section
Play/pause
Volume control
Time display showing current position and total duration
Use these controls to navigate through your video during editing
Timeline Control (Bottom section of the interface)
Shows time markers (1:00, 2:00, 3:00, etc.)
Displays tracks for different elements (by default on the first track you will find your song & lyrics, but you can add text, video elements and more!)
The timeline is where you arrange and adjust the timing of all elements
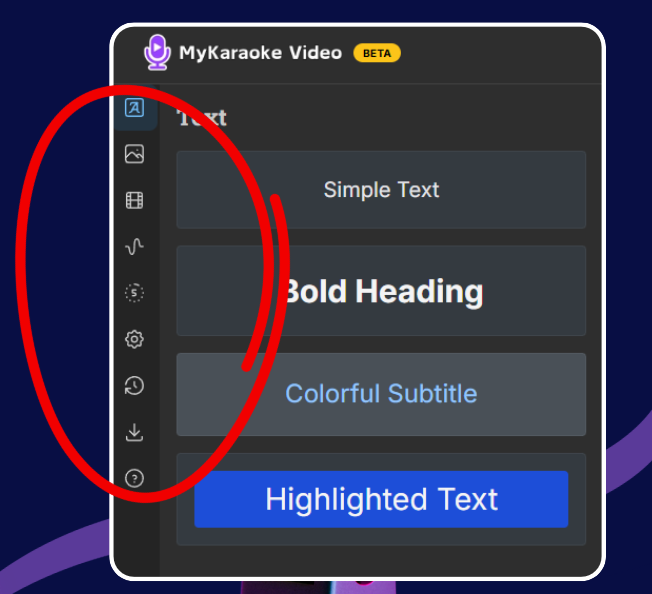
The Left Menu (Properties Panel) is your control hub for customizing the visual and audio aspects of your karaoke video. Click on any category to expand and modify its settings:
The "Text" menu (represented by an "A" letter) allows you to add various text overlays to your video. This is useful for adding titles, subtitles, artist names, or any other textual information you want to display in addition to the main karaoke lyrics.
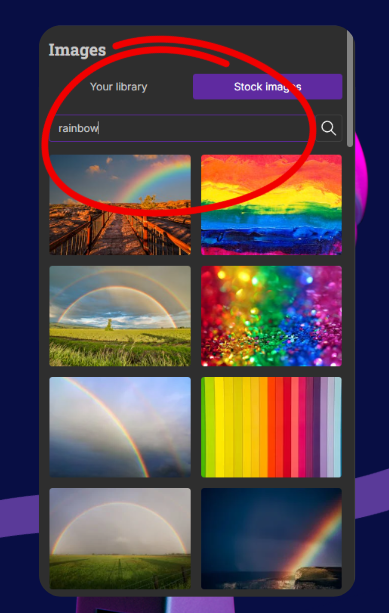
The "Images" menu allows you to add still images to your video, which can serve as backgrounds, overlays, or other visual enhancements.
How to add images:
Click the "Images" icon in the far-left icon bar. You have two options for sourcing images:
Your library: Upload your own images by dragging and dropping files into the designated area or by clicking "browse files." You can also access previously uploaded images by clicking "Open Library."
Stock images: Switch to the "Stock images" tab to search a library of royalty-free images using keywords
The "Videos" menu allows you to incorporate video clips into your project. These can be used as dynamic backgrounds, overlays, or as distinct video segments within your karaoke creation.
How to add videos:
Click the "Videos" icon (often represented by a film strip or play button symbol) in the far-left icon bar.
You have two options for sourcing videos:
Your library: Upload your own video files (e.g., .mp4, .webm up to 500MB and 1080p resolution, as indicated in the image) by dragging and dropping them into the designated area or by clicking "browse files." Access previously uploaded videos by clicking "Open Library."
Stock videos: Switch to the "Stock videos" tab to search and select from a library of royalty-free video clips.
Music Visualizers: Add dynamic audio spectrums to your video that visually react to the music. The bars or lines of the visualizer will move and change in sync with the audio track.
Select one of the available visualizer formats (e.g., bar graph, wave patterns).
Once added to your project, you can typically customize its position on the screen and change its color to match your video's aesthetic. These settings are usually found in the Properties Panel when the visualizer is selected.
Countdown Menu: The Countdown menu lets you add a visual countdown to your video, which is helpful for signaling instrumental breaks or giving singers a cue.
How to use: Click the "Countdown" icon in the far-left icon bar, Choose a countdown style (Simple, Squared, Rounded Square, or Circle). Drag the countdown element on the timeline to set when it appears and adjust its length to control how long the countdown lasts.
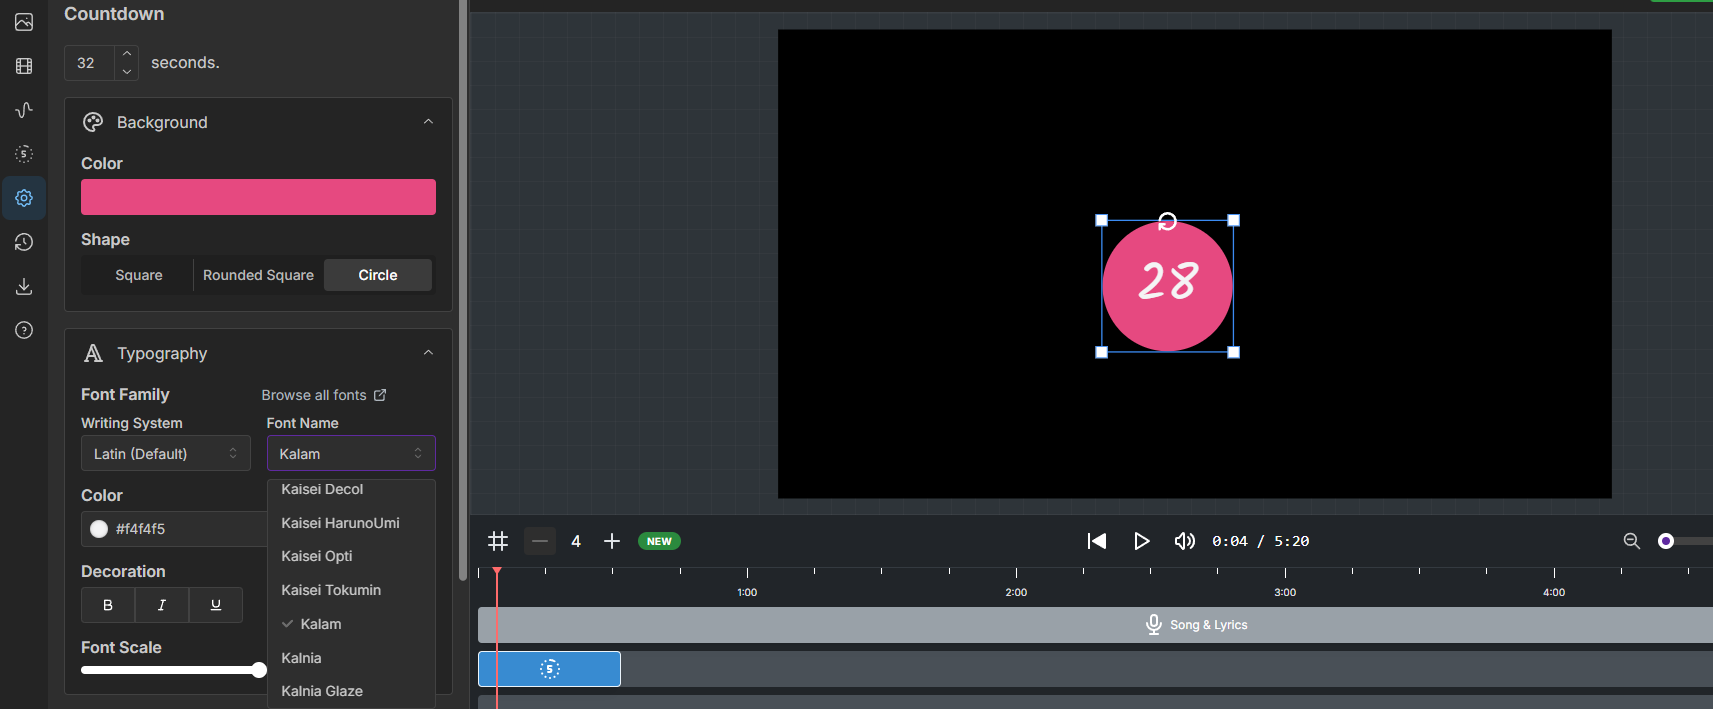
Customize the countdown’s duration, background color, shape, font, and position using the options in the Properties Panel when you click on it.
Versions Menu (Clock Icon): The Versions menu stores a history of your project each time you save, allowing you to revert to earlier stages or manage different iterations of your work.
How to use: Click the "Versions" icon. New versions are created when you click the main "Save" button. Select a version from the list to view or revert to it. You can also click on a version's name to edit it.
Properties Panel: This panel on the left dynamically displays customization options specific to the element currently selected on your timeline.
How it works: When you click on an element in the timeline (e.g., the 'Song & Lyrics' track, a text overlay, an image, or a countdown), the Properties Panel will update to show all available settings for that particular item. For instance, selecting the 'Song & Lyrics' track will reveal options like 'Audio Tracks,' 'Text Style,' 'Layout,' and 'Background' that you can adjust for those lyrics and their associated audio.
Selection-Based Editing: To edit any element (like lyrics, text, images, or countdowns), first click on its corresponding element or track in the Timeline Control at the bottom of the screen. Adding elements such as pictures, videos, or music visualizers will create a new element on a track in the timeline, which you can then select.
Once an element is selected on the timeline, the Left Menu will automatically update to become the Properties Panel for that specific item. This panel will then display all the available customization options for the selected element (e.g., text content, color, font, timing adjustments, etc.).
Top-Down Priority: The tracks on the timeline operate on a layering system. Elements on tracks positioned higher up in the timeline will appear on top of elements on tracks positioned lower down.
Example: If you have lyrics on a lower track and add a text overlay on a track above it, the text overlay will be visible on top of the lyrics in the Preview Screen. If the text overlay track was below the lyrics track, the lyrics might obscure the text overlay.
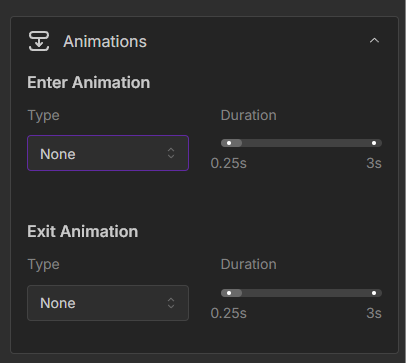
The Animation feature allows you to add dynamic motion effects to elements like text, images, or videos, controlling how they enter, exit, or are emphasized on screen.
How to use:
Select the element you want to animate by clicking its element on the timeline.
In the Properties Panel (left sidebar) that appears, find and expand the Animations section.
Choose your Enter and Exit animations. You can also adjust the duration of the selected animation to control how long it takes.
To further speed up your workflow, the timeline includes several powerful shortcuts for managing your elements.
Duplicate to End:
Perfect for looping a short background video or image across a long song. Right-click on the element in the timeline and select Duplicate to End. The editor will automatically repeat that clip until the end of the song.
Select Multiple Elements:
To move or delete many elements at once, click the first element to select it, hold the Shift key and click the last one (within the same layer). All elements in between will be selected for you to move as a group.
Split an element: To cut an element into two pieces, right-click on it and select Split. This is useful for creating gaps or editing parts of a clip independently.
Delete an element: To remove an element, simply click on it to select it and press the Del key on your keyboard. This also works for multi-selected elements.
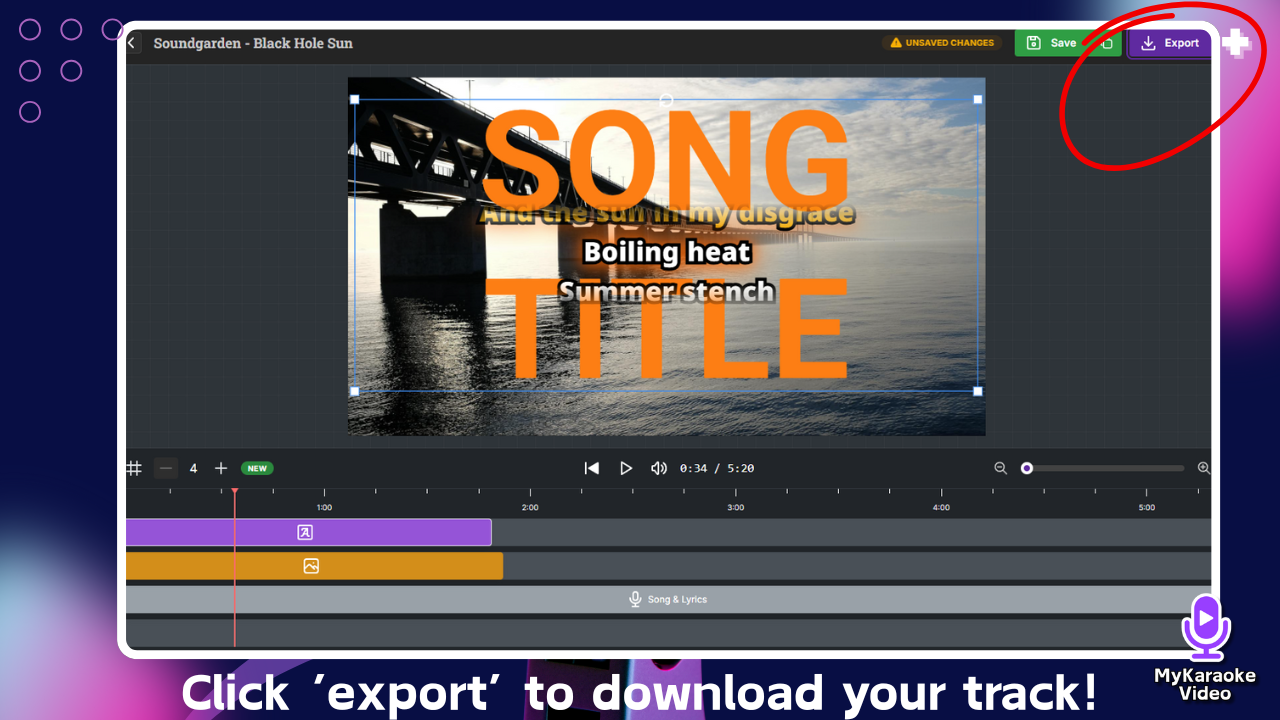
When you're ready to export, click the purple Export button, located in the top-right corner of the editor.
This opens the Export screen where you can configure your output settings:
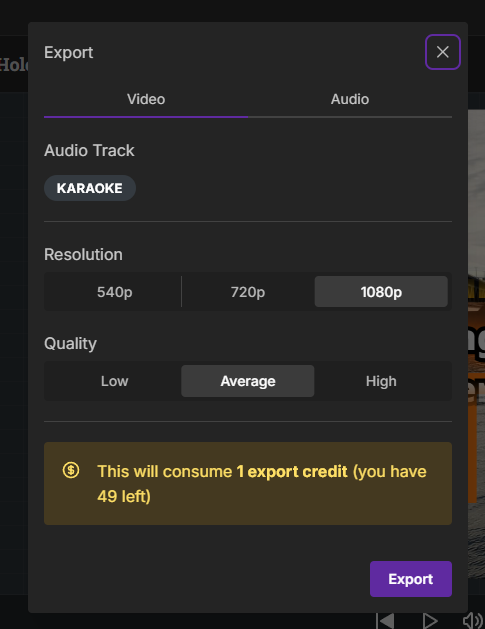
Audio Track: It displays if the song you’re about to export is in KARAOKE or ORIGINAL (you can change it from the Song & Lyrics element properties)
Resolution: Select the video resolution (e.g., 540p, 720p, 1080p).
Quality: Choose the desired video quality (e.g., Low, Average, High).
Click the final Export button to begin rendering your video. Once it’s done, you will be able to download it with the click of a button.
